Overview
This article shows how to move your telemetry data from IoTConnect into Azure CosmosDB by using a live data telemetry streaming connector. CosmosDB connector moves your telemetry data into your own CosmosDB.
Create your Cosmos DB & Container
How to create Cosmos Account in your Azure refer the Microsoft azure document here
Note- Select the type of account “Core (SQL)” at the time of create cosmos DB account.

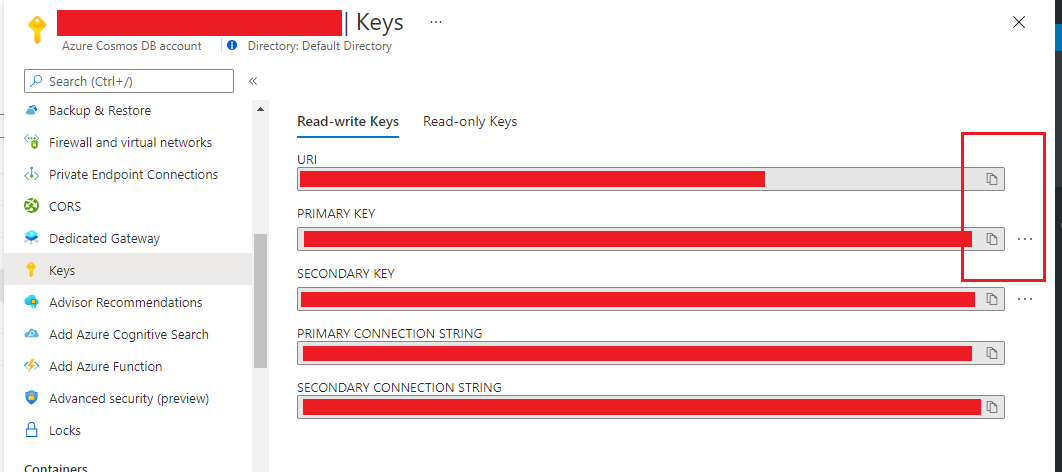
Once you are done with your CosmosDB setup, you need to capture URI of your CosmosDB Account and Primary Key, for that open Keys blade of your CosmosDB Account
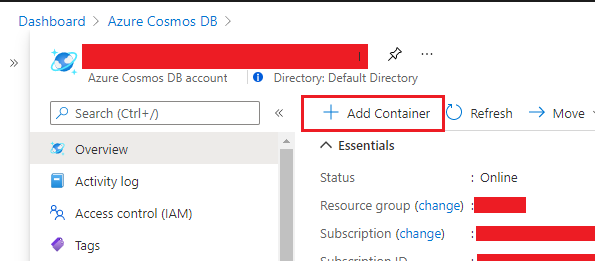
Next step is to setup container. Form overview blade of your CosmosDB Account, create new container.
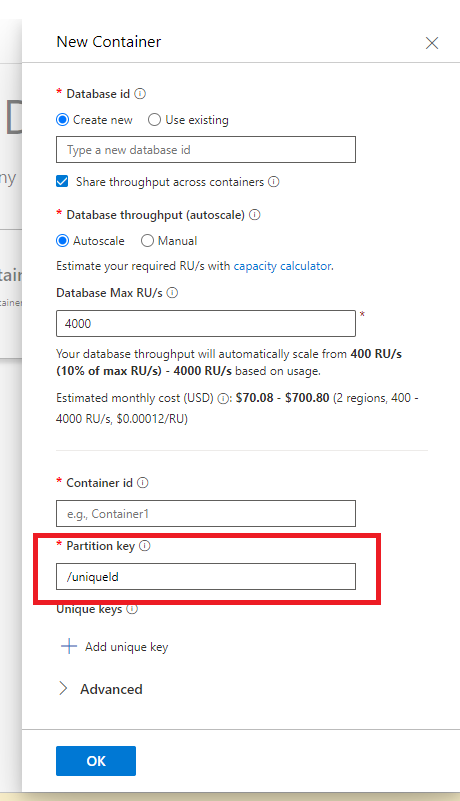
While creating new container you need to make sure the Partition key is /uniqueId
Configure Connector in IoTConnect
Now you all set with setting configuration in your account, go back to configuration page and add all required details. Login into IoTConnect and go to the left menu -> Configuration -> live data streaming section and enable the CosmosDB, which opens below popup for you to configure the connector.
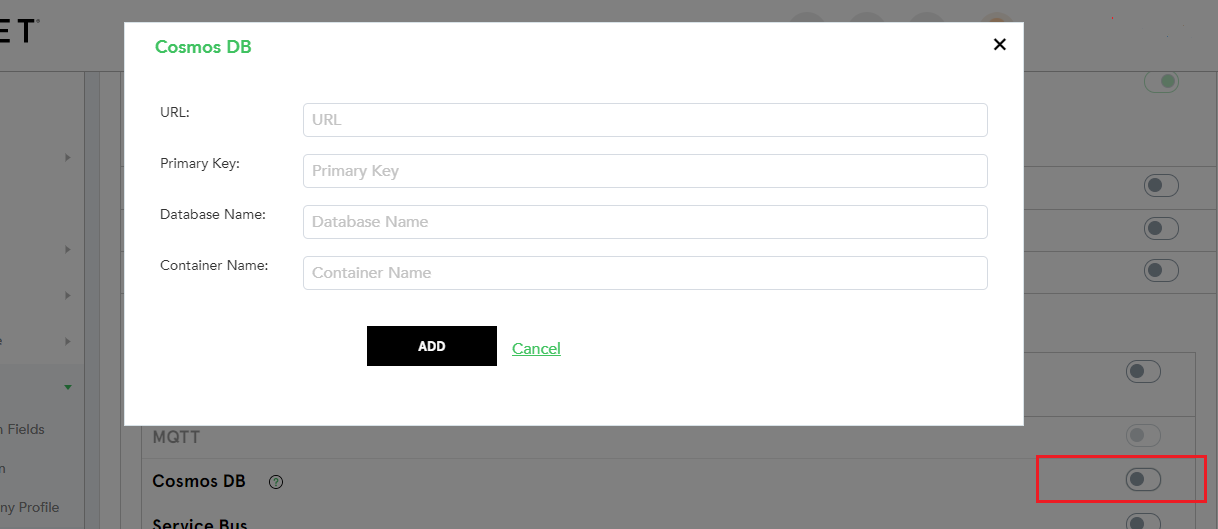
You have to paste URL & Primary Key which you copied form Keys blade of your CosmosDB account. Database name is what you have given/selected while creating Container and the name of container name. Once you update the setting you will see live telemetry are start getting added data dumping data.
Sample record from CosmosDB
"time": "2020-08-27T11:48:53.000Z",
    "data": [
        {
            "id": "DEVICEID",
            "dt": "2020-08-27T11:48:53.000Z",
            "d": [
                {
                    "temp": 493,
                    "rpm": 3990,
                    "fuel_level": 88,
                    "batt_level": 100,
                    "fuel_used": 27
                }
            ],
            "tg": ""
        }
    ],
    "cpid": "CPID",
    "mt": 0,
    "uniqueId": "DEVICEID",
    "isCustom": "0",
    "id": "883b2820-4685-83d6-966f",
    "_rid": "3MFgAIuiQ==",
    "_self": "dbs/3MFgAA==/colls/3M=/docs/3AAAABQ==/",
    "_etag": "\"7a02c00-0200-0000-5f479da80000\"",
    "_attachments": "attachments/",
    "_ts": 158293
}
- Time timestemp for the record created
- Data element is device attributes data in the records.
- Cpid Your company ID
- Uniqueid Your Device uniqueid
- Other is CosmosDB identifier which is created per record.