Overview
This document will help you understand how to use a service account to run your backend jobs.
Note: The expiry of a token is 5 minutes by default. Once expired, you must get credentials again to generate a new token.
Workflow

To get an access token, you must follow below four steps:
Step 1: Enable service account
You need to create support ticket to enable service account, if service account is not enabled then you will not be able get credentials of service account
Step 2: Get service account credentials
Use below API to get service account credentials. This service will return credentials if service account is enabled for your tenant (company).
Request Type :- GET
Url :- {MasterAPIBaseUrl}/api/v2/company/{cpid}/service-account
Headers :- "solution-key" : "string"
Notes:
- MasterAPIBaseUrl is the IoTConnect Master REST API URL of the environment you are targeting.
- CPID is the CPID of your company.
- Solution-key is your solution’s access key.
Below is the sample API call for getting service account credentials.
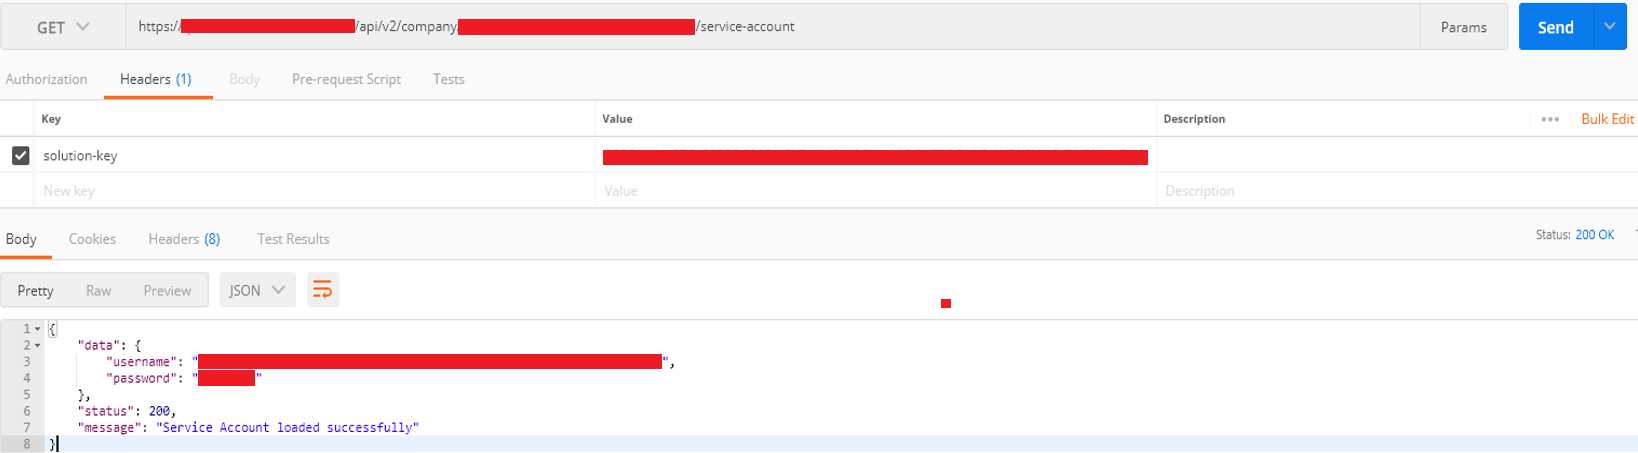
As given in the screenshot, you will receive the username and password of the service account for the given company.
Step 3: Generate a basic token
After receiving the username and password in step 2, you need to call Login API to generate an access token. Login API requires a basic token for authentication. You can generate this basic token by calling the below API.
Request Type :-GET
Url :- {AuthenticateAPIBaseUrl}/api/v2/Auth/basic-token
Note: AuthenticateAPIBaseUrl is the IoTConnect Authenticate REST API URL of the environment you are targeting.
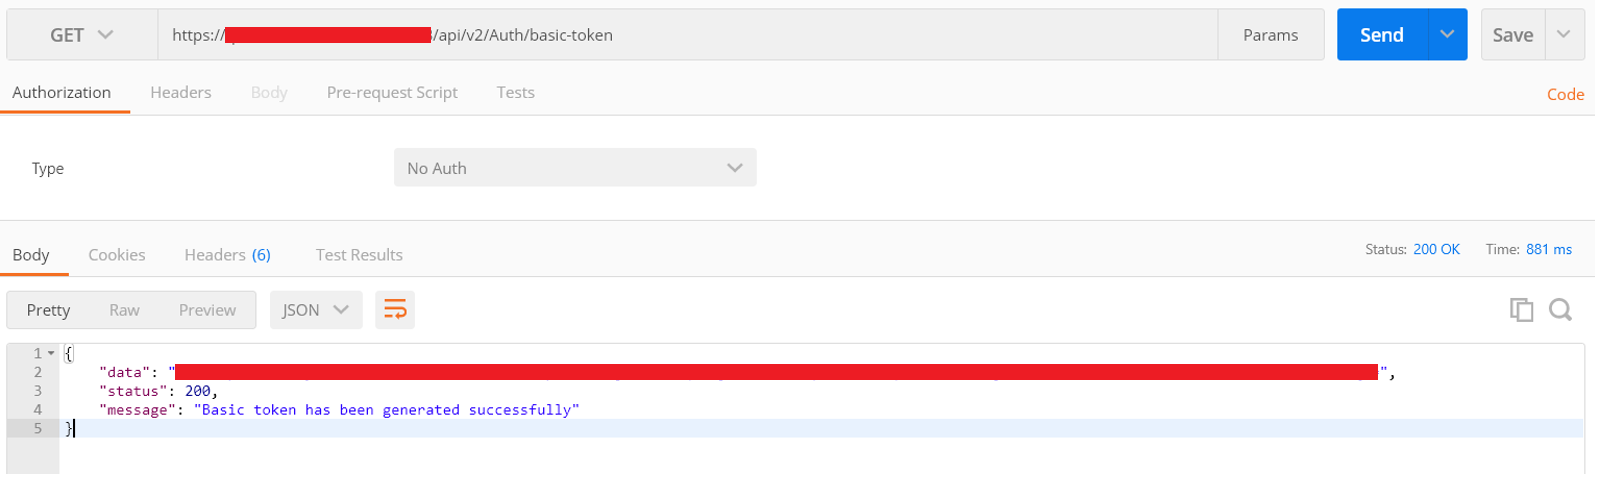
Below is the sample API call for generating a basic token.
Step 4: Generate access token
After receiving the username and password in step 1 and basic token in step 2, you have all the ingredients to call Login API to generate an access token.
This Login API is available in IoTConnect Authenticate REST API. You can generate an access token by calling the below API.
Request Type:- GET
Url :- {AuthenticateAPIBaseUrl}/api/v2/Auth/login
Headers :- "Authorization" : "Basic {basic-token}"
           "solution-key" : "string"
Request Body :- {
                  "username": "",
                  "password": ""
                }
Notes:
- AuthenticateAPIBaseUrl is the IoTConnect Authenticate REST API URL of the environment you are targeting.
- Solution-key is your solution’s access key.
- Username and password – received from step 2.
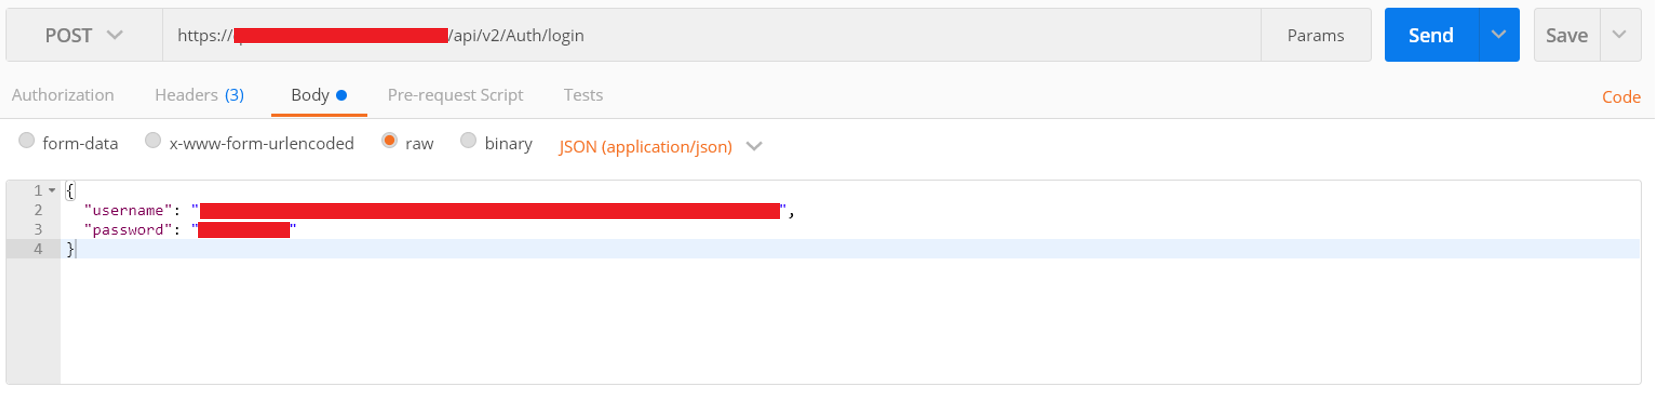
Below is the sample API call for generating a service account access token.
Headers:

Body:
Response:

Notes:
- In authorization, add basic token with prefix “Basic” [add space after Basic and then your token].
- Solution-key is your solution’s access key.
Step 5: Call API using an access token
From step 4, you receive a token in the ‘access token’ tag. This token is your service account access token. Using this, you can call IoTConnect APIs.